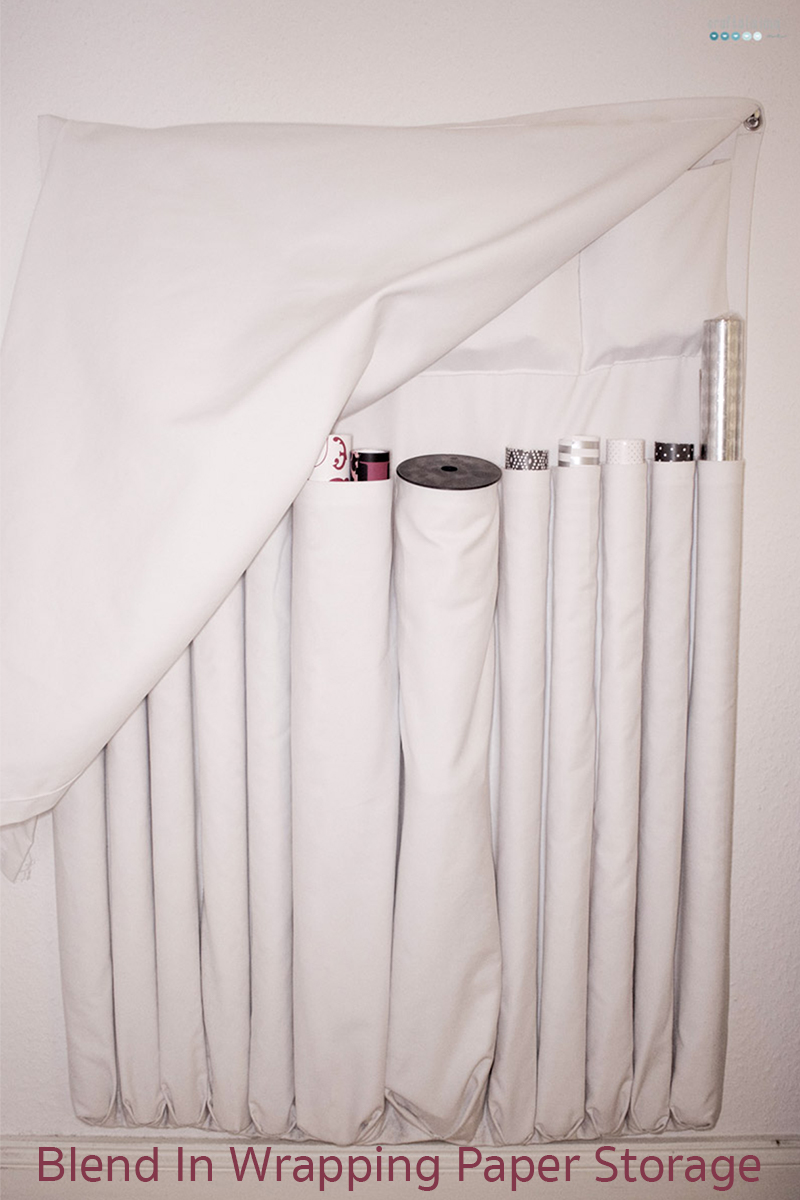
In this post I mentioned my inability of a perfectly wrapped present. That doesn’t mean I do not have the necessary equipment to do so. Who else is collecting wrapping paper like there is no tomorrow? But more often than not wrapping paper supplies are just ugly and sturdy to store. This bothered me for years until I came up with this “blend in wrapping paper storage” idea.
Maybe you have the same problem and maybe you have some unused space behind a door that was just waiting to get some purpose. Well here might be your solution.
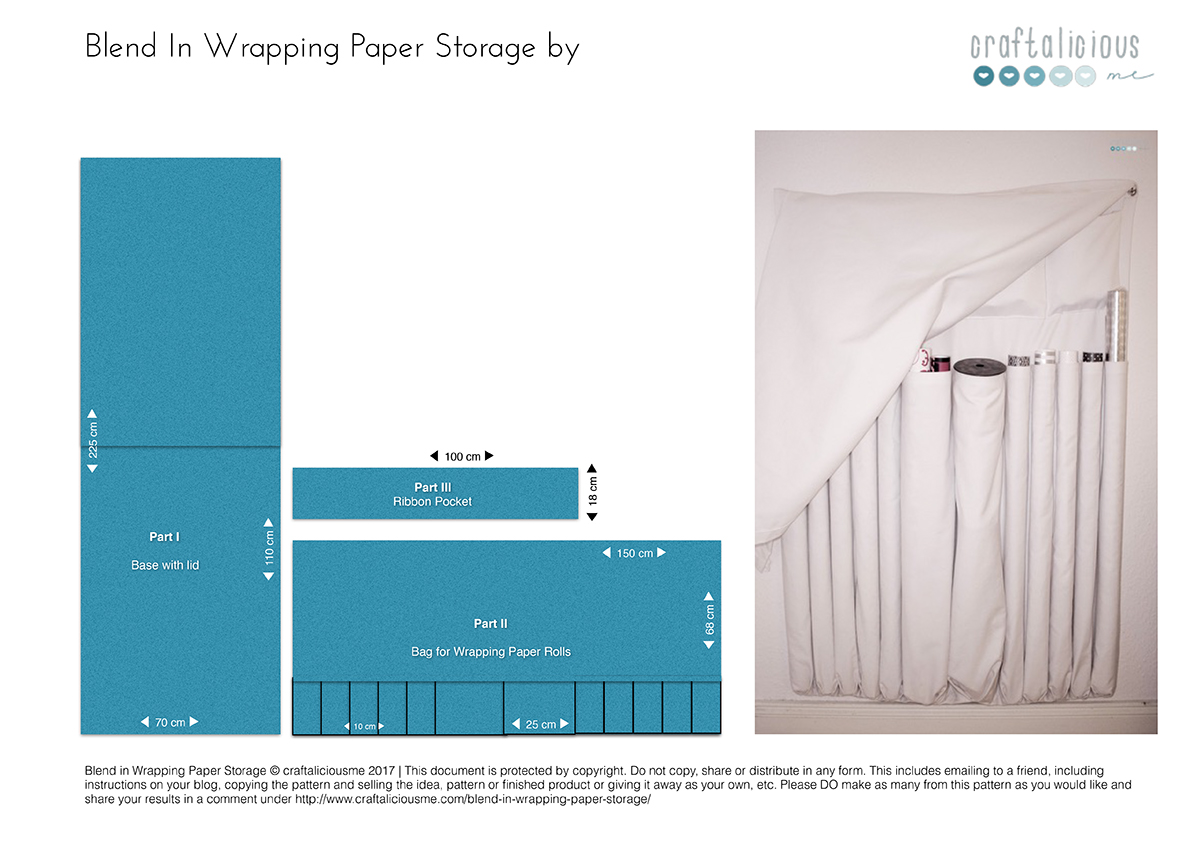
I try to explain it to my best ability. In the end though it depends on your available space and the things you want to store. So see it as a guideline rather then a real tutorial. But for better understanding I made this measurement chart and if you want you can download it here.
What you need:
❤︎ sturdy fabric in your wall color depending on your measurements
❤︎ 2 eyelets
Instructions:
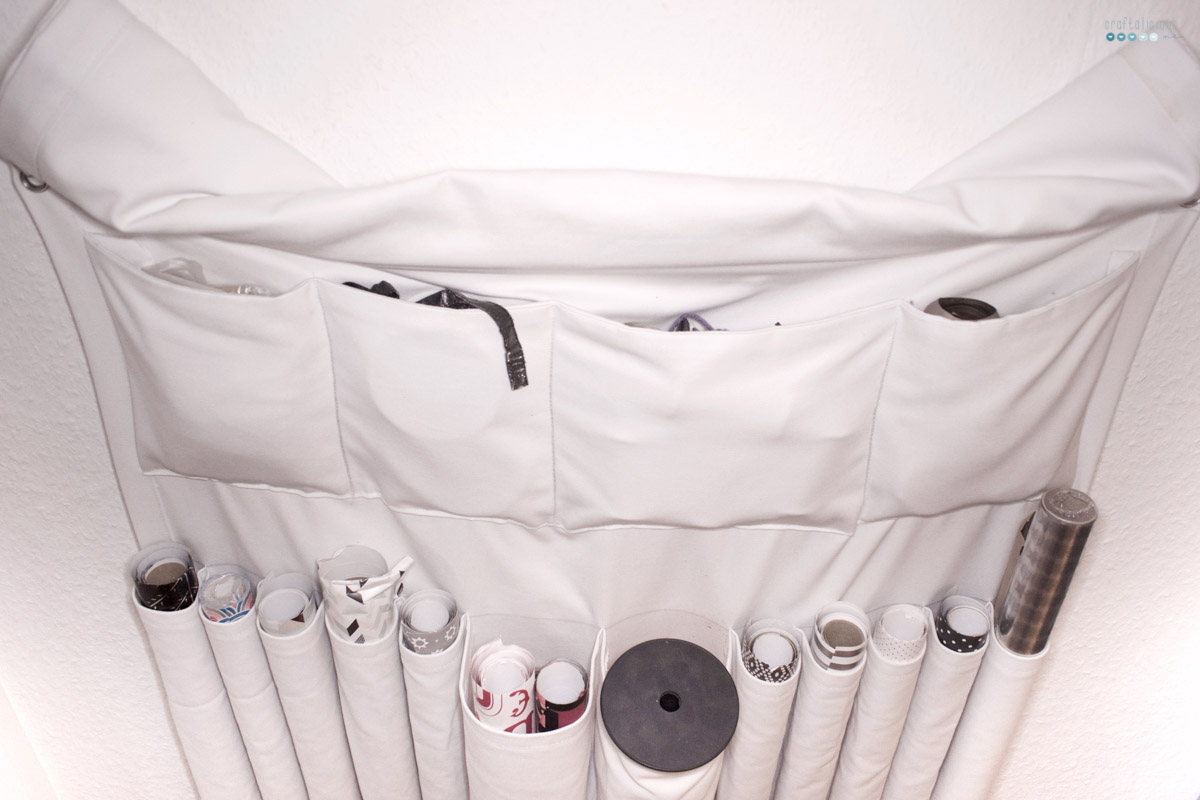
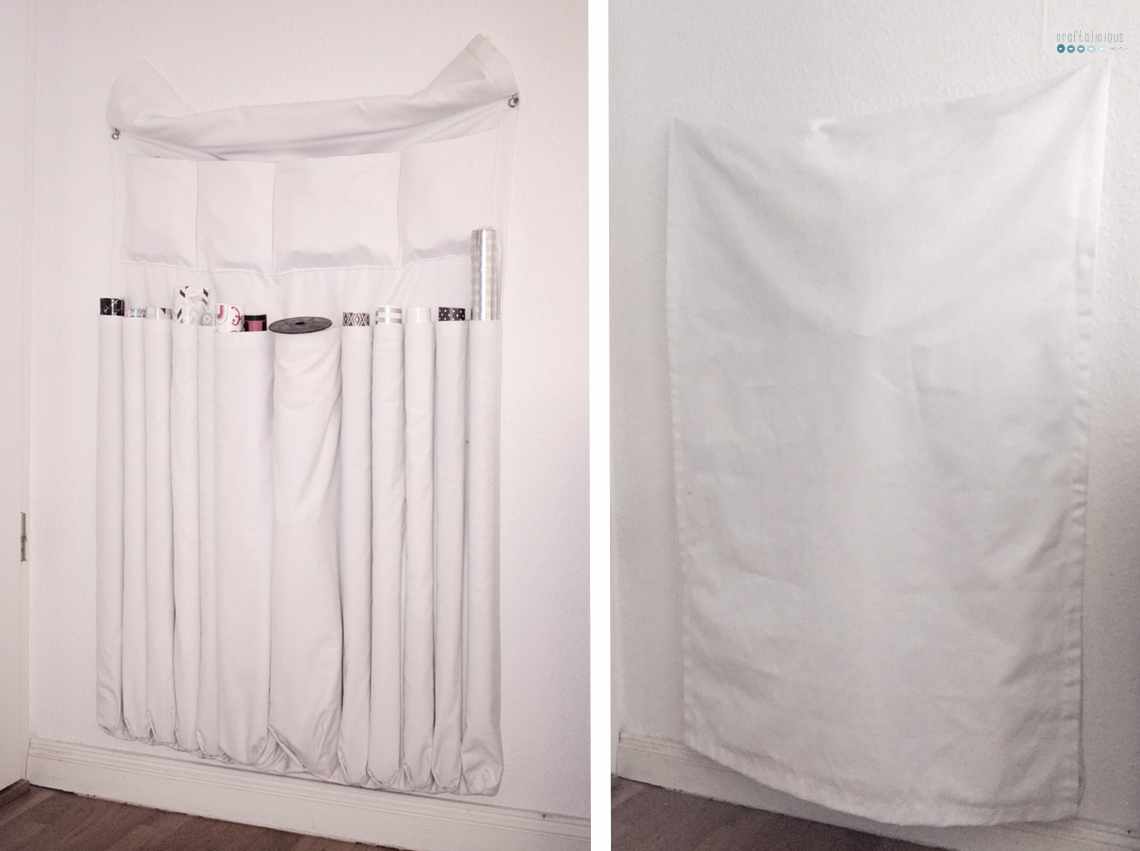
- This project contains of three fabric pieces: part I = basic piece, part II = paper roll bags, part III = ribbon bags
- Measure your space.
- I went with a width of 70cm and a hight of 110cm holding 10+ paper rolls and lots of ribbons.
- The cover up is basically just a flap of fabric 5 cm bit longer so it covers the bulk. Which I added to my actually size.
- So my basic piece is 70 x 225 cm.
- I added about 2,5cm seam allowance to all my edges. Depending on your fabric you could double your seams on the edge where the eyelets will go so they won’t rib once weight is added.
- For piece II: I went with a total of 150cm. This adds up as I had 10 smaller bags (each 10 cm) and two bigger ones in the middle (each 25cm)
- For piece III: I went with 100 cm and a height of 18 cm but you can be flexible here depending on what you will want to store. Just make sure the pockets down’t spill over.
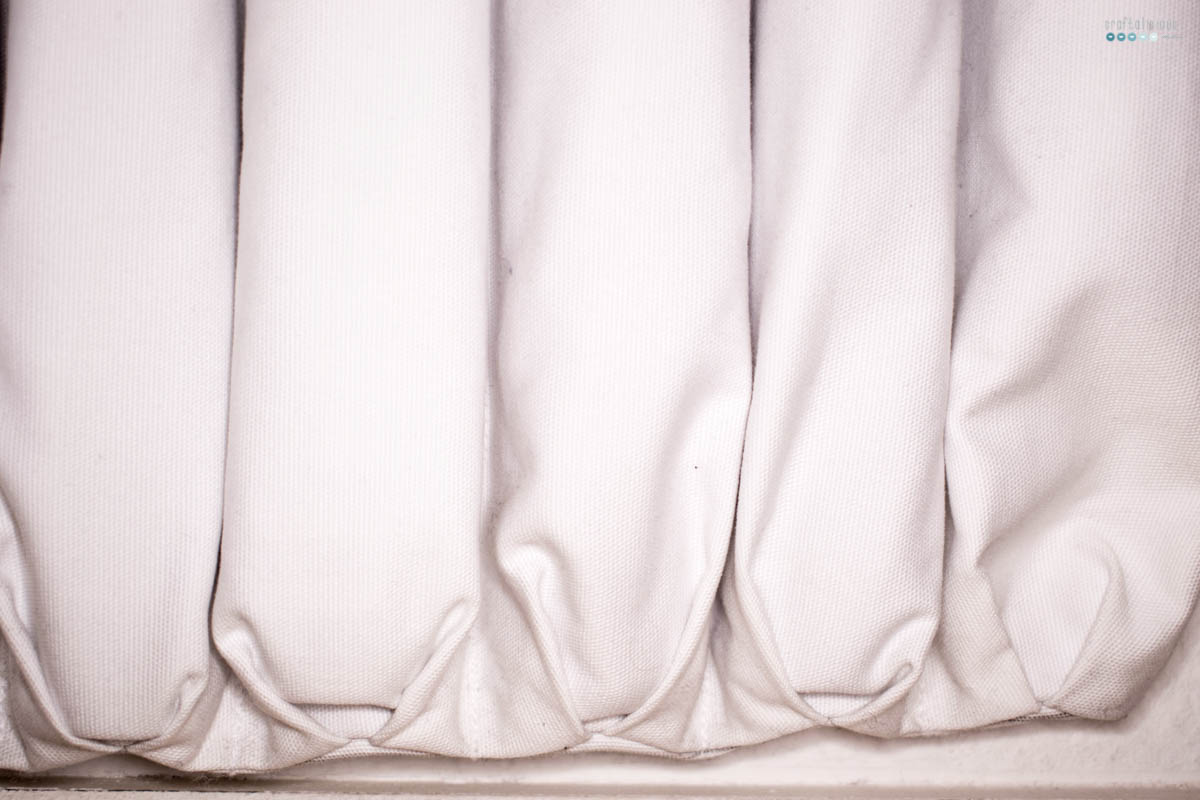
- Sewing together is actually pretty easy. it only gets a bit tricky when you have to adjust part II to part I. I went with adding the outer edges first. Then I played out the bottom one and pinned it the creases in place. I put the facing each other so they sing open when the role ist stuck inside.
10. In the end you just hammer in the eyelet. This could be a tough job depending on your fabric and you definitely should have a sturdy underground. I might or might not have damaged the hard wood floors in the process.
Then you are good to hang it and fill it with all your goodies and it will blend right in with your wall when not being needed.
What do you think? Would you like it? How do you store your gift wrapping papers?
Happy sewing,
Tobia
linked to creadienstag | Dienstagsdinge | Handmade on Tuesday | MMI | Dekodonnerstag | Freutag

7 comments
Hi Tobia,
That’s a nice idea. If I would could do it, I would do it. But I can’t do it. ^^
Have a nice day.
Rea
Oh it actually sounds more complicated than it is with all the measurements. The sewing is pretty cool for beginners as it is only straight lines and the material doesn’t stretch. It was one of my earlier projects. I just got around blogging about it now. So don’t be scared.
That’s a neat idea. I usually store my wrapping paper in a corner of my ‘craft room’ in a sort o bucket, so it doesn’t fall over. It works.
Yeah that is what my Mom does. But it always kinda looks unorganized to my eyes. On the other hand you see what you got and don’t buy the same paper twice. Not that that has happened…
Oh no, I have never bought the same paper twice… AHEM. ;)
Love the idea! I have got so many rolls of wrapping paper ;)
Sandra
Thank you. It’s not that I fit them all in there but it’s a good pointer when I might have enough 😋