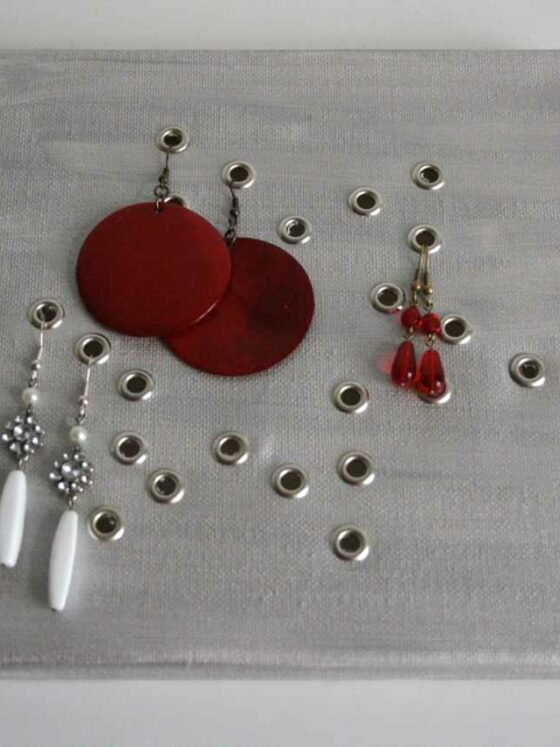
Wedding preparations are so fun and exhilarating but I am pretty sure you don’t plan what to do afterwards besides maybe go on a honeymoon or paying bills.
So pretty soon you’ll wonder: what am I gonna do with my bridal bouquet. Well look no further I’ve got the perfect way to preserve it.

The story behind
You will carry all those memories with you – in shape of a fancy necklace. I do for sure. In my wedding planning I know quite early how my bridal bouquet was gonna look like. It was either calla lilies or white peonies. When I decided on the peonies I just had to find the perfect little flower shop in a city I didn’t know and that is a bit too traditional for my taste when it comes to flower arrangement. But somehow I found Mrs John and when walking back to the train station looking for another shop but saw some candles in tiny dark alley which were so inviting that I decided I want to go in and get a feel. Just entering I knew that gone be it. She is doing my flowers.
So when I told her I wanted peonies she tried to move mountains to get me some. Unfortunately they did not deliver and 3 days prior to the wedding I had no idea how my bridal bouquet should look like or what to do because we had to take what she bought already. If someone told me I would marry in carnations I would have yelled: never! You must know I hate carnations because I think of them as communist flowers – but mainly the red ones. And I found this really cool idea of a carnation snowball. And that’s what I ended up. Nothing I would change only maybe a bit of color at the edge of the bouquet because than you actually see it in front of the dress.

But anyways, you wanted to hear about the tutorial. Well I am a bit into jewelry making and so it was pretty clear to me what I’ll do with my bouquet afterwards.
Step 1 – preparation

You can either do this with fresh flowers or with your dried bouquet – opens whole new possibilities doesn’t it?! I wanted to do mine with fresh but was sent on a surprise honeymoon.
Pick all the flower petals from your bouquet leaving a skeleton of the greens. This can be quite a meditative task.
Step 2 – cook
Yep throw them all in a big pot and add destilled water until covered.

Step 3 – blend and filter
Now through the whole gooey thing into a blender and go crazy. Once that is done take a fine mesh cotton clothes and filter out the water. The flower dough should be really dry with a consistency of cookie dough.

Step 4 – making beads
Now comes the fun part. Form little beads and stick them on your tooth pick. They really shrink! About 50%. I didn’t believe but it’s true. Let them dry. Best for several days (or in my case weeks). Unfortunately I forget to take a picture of the fresh beads.

Step 5 – get creative
I read that all flowers kinda turn some shade of brown when you cook them. Specially white ones have no color on their own to bring in. So I knew I was going to paint mine. But I still wanted to see the real bouquet. So I dip dyed my beads. Since they are not waterproof I also coated them with transparent paint. After that I made jewelry.

I like what I have turned my bridal bouquet into. Now it’s you turn!
Here is what you need:
– flowers
– destilled water
– tooth picks
– paint (optional)
– clear varnish
You can also read up more on this topic here.
Please share, I would love to collect other bridal bouquet turned jewelry.
Happy bead cooking,
Tobia
PS: This post has been entered to the RUMS linkup party.