craftaliciousme craftaliciousme
  • Home
  • Books
    • Read Around the World – one book from every country
  • Just Life
  • Tutorials
  • Meet Me
    • 101 things in 1000 days – my personal bucket list part II
  • Home
  • Books
    • Read Around the World – one book from every country
  • Just Life
  • Tutorials
  • Meet Me
    • 101 things in 1000 days – my personal bucket list part II
  • Tutorials

DIY Jewelry Display – My Ikea Hack using The Stockholm Tray

  • Tobia
  • April 19, 2020
  • 2 comments
  • 3 minute read
craftaliciousme seeking creative life DIY jewelry display
Total
3
Shares
0
0
3
0
0

I think the idea to make a DIY jewelry display is in my mind since I signed up for Pinterest in 20xx. Ok, maybe that was a bit overly dramatic but it is close. I always new I wanted to make some sort of hanging display for my earrings but didn’t quite know what I wanted or needed. I had a many ideas I walked through in my head but I never took steps to actually make them. As Mr. ♡ decided to throw out this newly bought IKEA Stockholm Tray because it didn’t quite fit in his office I snatched it up. After a few more months cluttering the apartment I finally went to work.

Last summer I spent a day in the wood workshop with my dad. I had a couple projects I wanted to work on. It was good to have some guidance.
Here is how I went about it:

Materials you need für your DIY jewelry display

  • wooden tray
  • wooden round stick in similar wood
  • drill with matching heads
  • sanding paper
  • paint if needed
  • carpenters rule, pencil

Unfortunately for you I was so caught up in the moment I didn’t really take step by step photos. I tried to explain what I did though.

DIY jewelry display side craftaliciousme seeking creative life
DIY jewelry display seeking creative life craftaliciousme
DIY jewelry display craftaliciusme seeking creative life
  1. I had a huge mind block when it cam to measuring where to but my rods. Still have. Can’t grab the concept here even though my dad tried to explain multiple times (he graduated with a maths and physics diploma back in the day). I don’t understand how it works apparently my mind isn’t capable. Basically I did not measure.
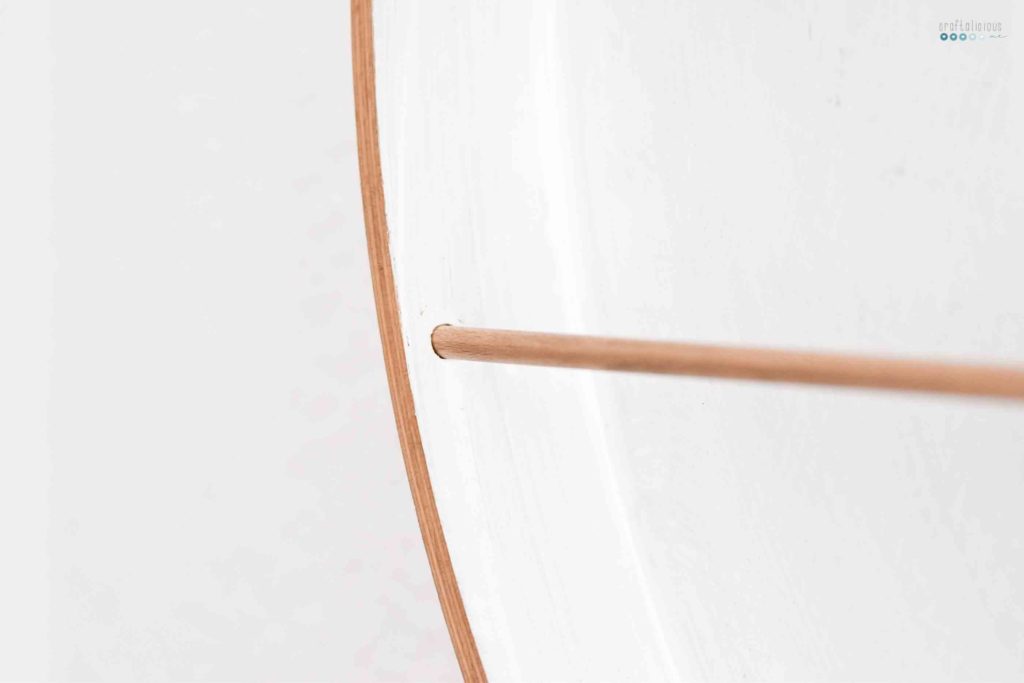
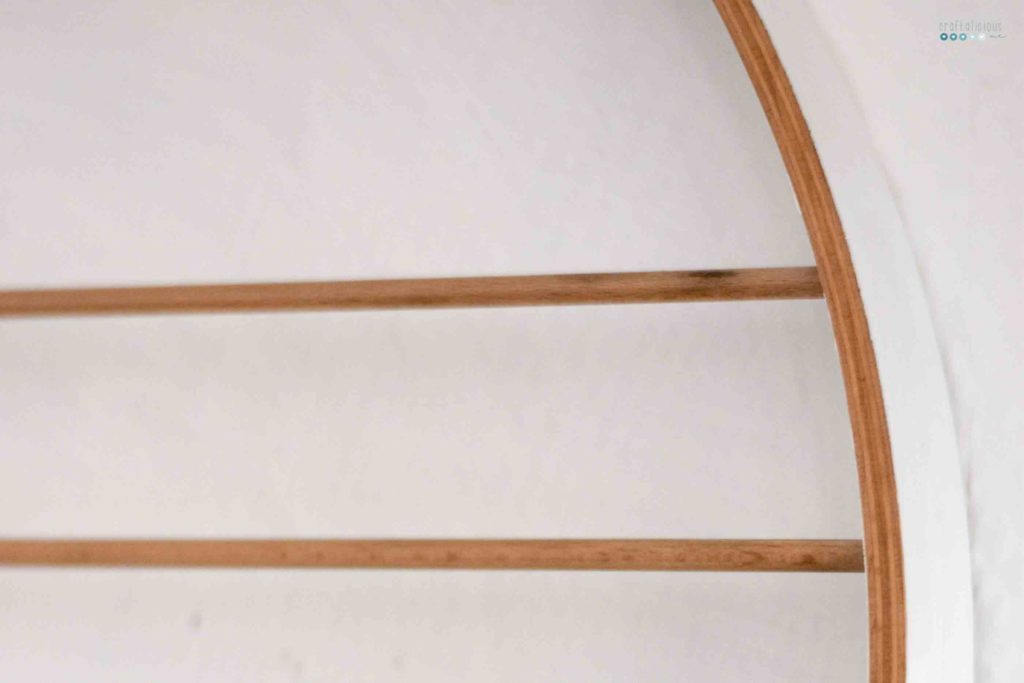
    Here is what you need to do: figure out where to put the first rod. It should be one in the middle section. Drill a hole but make sure not to go all the way through. Repeat on the other side. Now measure the distance. This is the length of your first stick. Due to some mathematical theory/law/whatever it will always be level.
  2. Now you only need to use a distance meter to measure where to drill the next hole. Repeat until you are done.
  3. As for the studs I simply drilled some wholes in a slat. I didn’t do a very precise job but I am ok with that. It was a bit more effort to make them fit into the ledge as I could simply drill some holes.
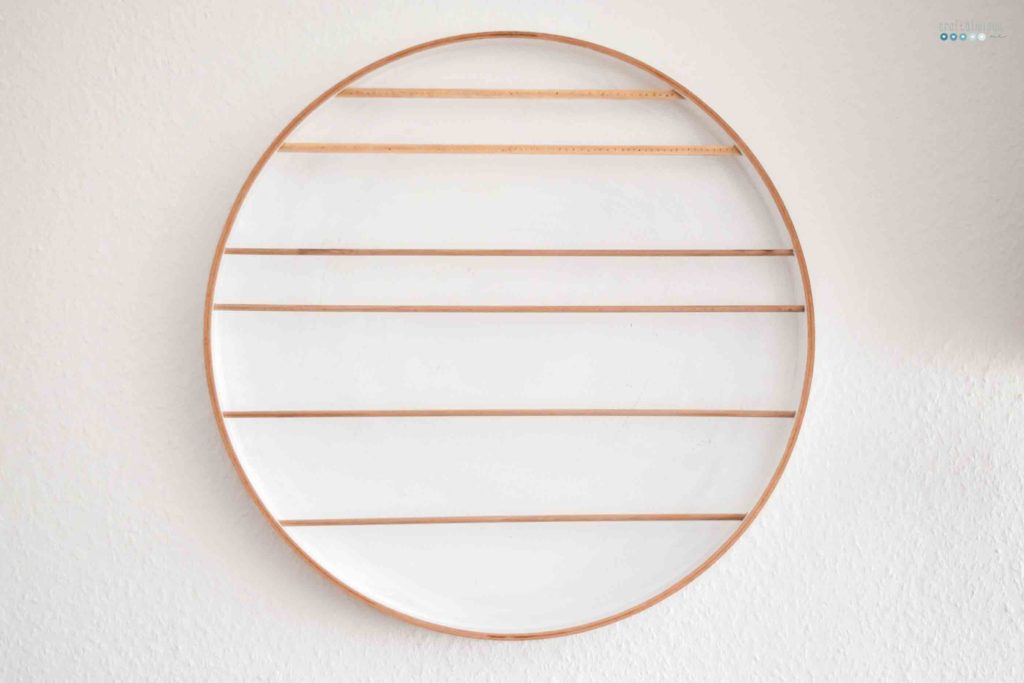
  4. Once done sand down a bit and simply click the rods and slats into place.
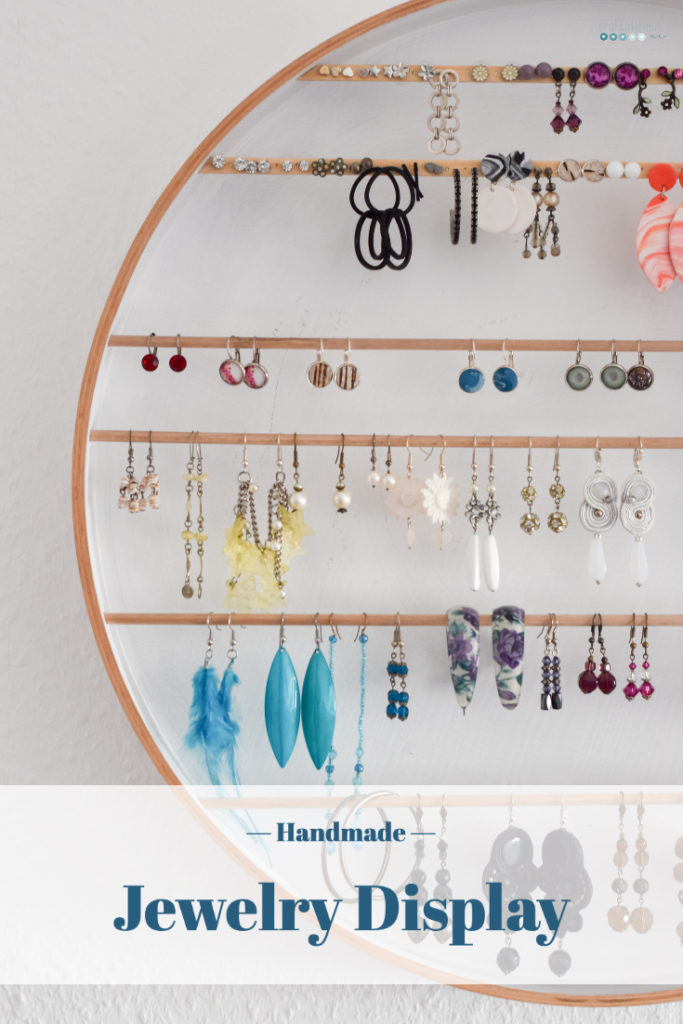
  5. I decided to paint it all white as the jewelry pops more with a clean background.
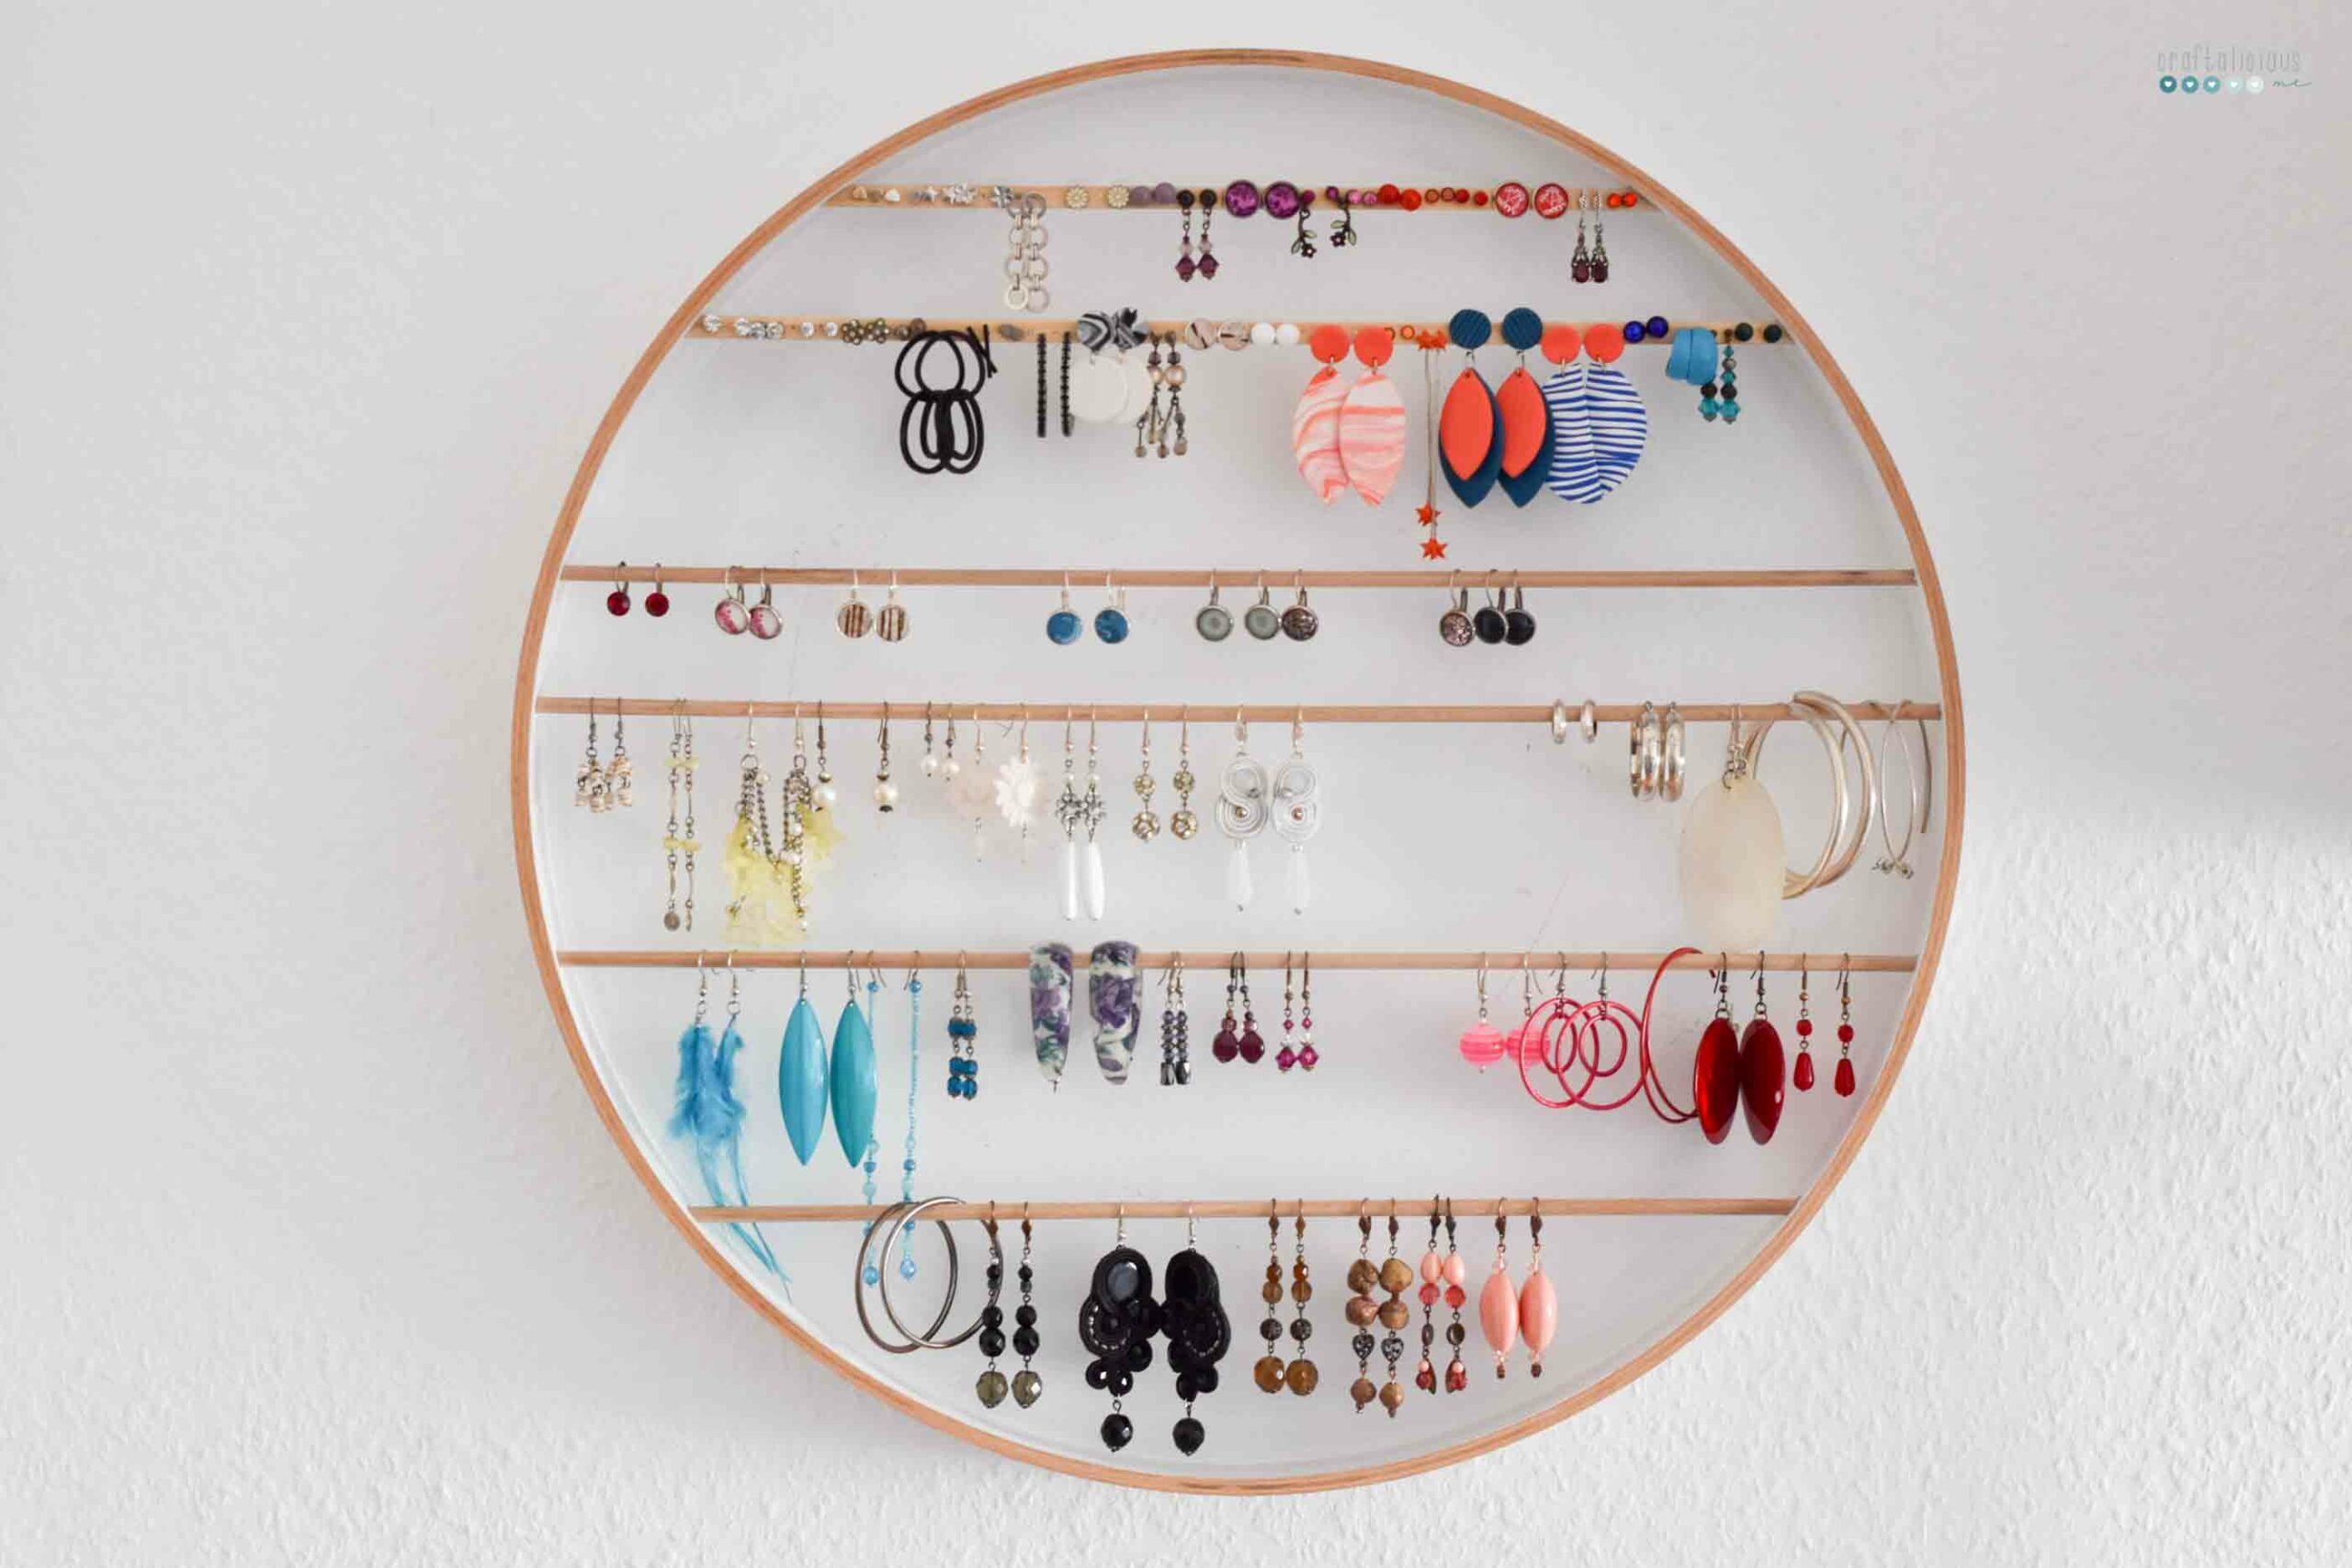
  6. You are done. Now the fun part – hanging, sorting and displaying jewelry.

I am really surprised how many I accumulated over time as I didn’t expect to own that many studs. So I already ran out of space even though I got rid o f a few.

On another note I realized I used to wear a lot of purple as I own so many in that color but hardly wear them anymore. Over all I have 81 earrings – 27 handmade by me and 7 more handmade ones from markets or by friends.

I love that I can see them all on display now and can choose in the morning which ones to wear. It’s much easier to reach for some forgotten gems.

I am really happy how this turnt out. And also I was able to cross of #56 and #61 of my 100-things-in-1001-days-list.

Do you own a DIY jewelry display or how do you keep your accessories? I am always looking for fun inspiration so feel free to share.

Happy crafting

Tobia
Related Topics
  • DIY
  • jewelry
  • recycling
Previous Article
Bark Wreath seeking creative life
  • Tutorials

Bark Wreath – Natural Advent Wreath 2019

  • Tobia
  • November 24, 2019
Read Post
Next Article
DIY Gift Tags and Mini-Garlands hands holding garland with blossoms
  • Crafting
  • Tutorials

DIY Gift Tags and Mini-Garlands { RECYCLE QUICK TIP #13 }

  • Tobia
  • November 4, 2020
Read Post
2 comments
  1. San says:
    April 23, 2020 at 12:04 am

    Very cool. This is the time when I wish I had pierced ear lobes and would wear ear rings LOL

    Reply
    1. Tobia says:
      April 23, 2020 at 8:04 am

      Ha Right. Well you can come by and admire my collection any time.

      Reply

Leave a Reply Cancel reply

Your email address will not be published. Required fields are marked *

I accept that my given data and my IP address is sent to a server in the USA only for the purpose of spam prevention through the Akismet program.More information on Akismet and GDPR.

CommentLuv badgeShow more posts

This site uses Akismet to reduce spam. Learn how your comment data is processed.

about
About Me
Welcome to my internet home.
Blogging for ten years about creativity, books and baked goods. All while goal setting, seeking a creative life and sharing my thoughts and life as an introvert in Germany's capital.
Come join me and let's be friends.
Tag Cloud
10 Things advent art Berlin blogging blog party books breakfast cake chocolate coffee cold color me happy craft room decoration DIY drinks fall Finland gifts happiness review ideas inspiration jewelry kranz lemonade party listmaking NaBloPoMo recipe recycle quick tip recycling refashion resolution reviews soup spring stars summer thoughts travel winter winter wedding wreath x-mas zero waste
Categories
Trending Posts
  • sorbian easter eggs tutorial
    Crafting , Tutorials
    Sorbian Easter Eggs {Tutorial}
  • photo of lighthouse in evening sun for my goal check in for the 101 in 1000 project also called project zero
    101 things in 1000 days – my personal bucket list
  • blue bridge over water ways with sunset sky – at the moment
    Just Life
    At the Moment #9/2023
Recent Comments
  • Tobia on At the Moment #9/2023
  • Bella on At the Moment #9/2023
  • Tobia on At the Moment #9/2023
“𝕐𝕠𝕦𝕣 𝕝𝕚𝕗𝕖 𝕨𝕒𝕤. 𝕄𝕪 𝕝𝕠𝕟𝕘𝕚𝕟𝕘 𝕥𝕠 𝕤𝕡𝕖𝕟𝕕 𝕞𝕠𝕣𝕖 𝕥𝕚𝕞𝕖… 𝕎𝕚𝕥𝕙𝕠𝕦𝕥 𝕪𝕠𝕦 𝕞𝕪 𝕙𝕖𝕒𝕣𝕥 𝕚𝕤 𝕙𝕖𝕒𝕧𝕚𝕖𝕣.”
“𝕀𝕞𝕒𝕘𝕚𝕟𝕖 𝕓𝕖𝕚𝕟𝕘 𝕨𝕚𝕡𝕖𝕕 𝕒𝕨𝕒𝕪. 𝔽𝕒𝕝𝕝𝕖𝕟 𝕚𝕟𝕥𝕠 𝕕𝕖𝕡𝕥𝕙𝕤. 𝕀𝕧𝕪 𝕗𝕝𝕠𝕨𝕖𝕣𝕤 𝕘𝕣𝕠𝕨𝕚𝕟𝕘 𝕗𝕣𝕠𝕞 𝕥𝕙𝕖 𝕣𝕦𝕚𝕟𝕤. 𝕋𝕨𝕚𝕟𝕜𝕝𝕚𝕟𝕘 𝕝𝕚𝕘𝕙𝕥𝕤 𝕥𝕙𝕒𝕥 𝕟𝕖𝕩𝕥 𝕤𝕦𝕞𝕞𝕖𝕣. 𝕋𝕙𝕖 𝕗𝕝𝕦𝕥𝕥𝕖𝕣 𝕠𝕗 𝕚𝕥𝕤 𝕨𝕚𝕟𝕘𝕤. 𝔸 𝕤𝕚𝕟𝕘𝕝𝕖 𝕤𝕠𝕟𝕘. 𝕋𝕙𝕖 𝕤𝕠𝕦𝕟𝕕 𝕠𝕗 𝕥𝕙𝕣𝕖𝕖 𝕟𝕠𝕥𝕖𝕤. 𝕀 𝕤𝕚𝕥 𝕦𝕡 𝕒𝕟𝕕 𝕠𝕡𝕖𝕟 𝕞𝕪 𝕖𝕪𝕖𝕤.”
Last year my dad got me this rose for my birthday.
“ 𝔸𝕥 𝕥𝕙𝕖 𝕖𝕟𝕕 𝕠𝕗 𝕥𝕙𝕖 𝕕𝕒𝕪 𝕀 𝕔𝕠𝕞𝕖 𝕙𝕠𝕞𝕖. 𝕀 𝕒𝕞 𝕙𝕒𝕡𝕡𝕪.”
“𝕋𝕣𝕦𝕤𝕥”
Another birthday for the memories. 🤍🎂💐🥰
  • Imprint
  • Data Policy
© craftaliciousme 2013-2023
Read posts from previous years

Input your search keywords and press Enter.